How to Disc a Field with a Tractor: A Comprehensive Guide
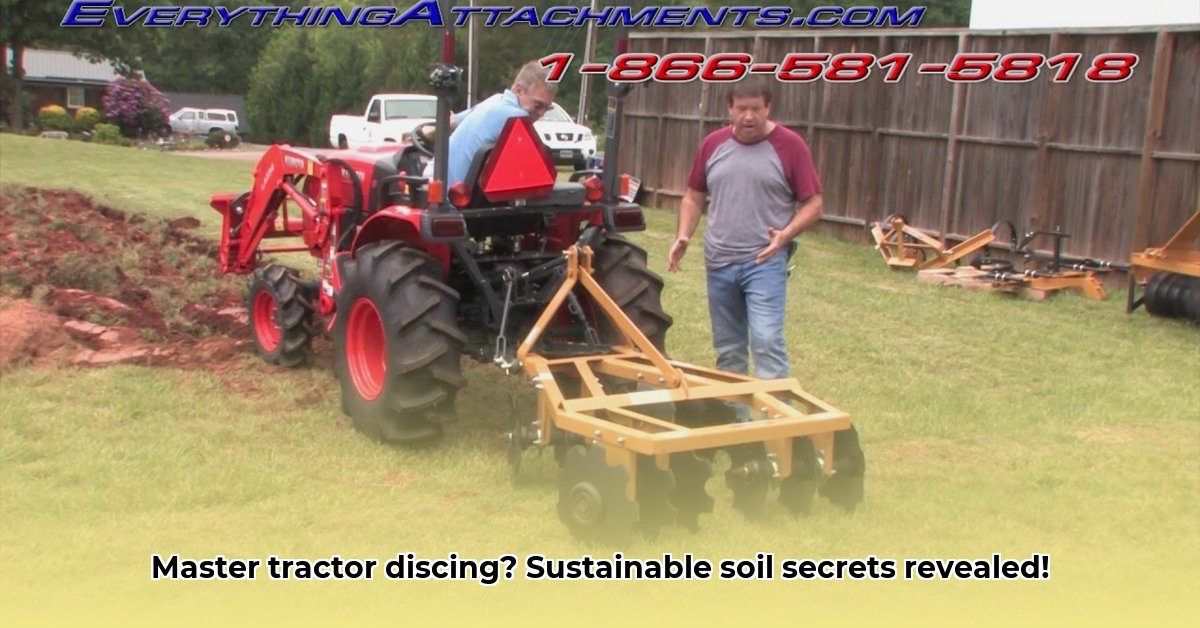
Discing, a crucial step in soil preparation, involves using a disc harrow attached to a tractor to break up soil clods, level the field, and prepare a seedbed for planting. This guide provides a step-by-step approach for effective and sustainable discing, beneficial for both experienced farmers and beginners. For more on tractor attachments, check out this helpful resource on tractor implements.
Preparing for Success: Pre-Disking Checklist
Before starting, a thorough pre-discing check is essential for safety and efficiency. This isn't just about the tractor and equipment; it's about you, the operator, too.
1. Equipment Inspection: Begin by meticulously inspecting your tractor and disc harrow. Check fluid levels (engine oil, hydraulic fluid, transmission fluid), ensuring they're topped off and that there are no leaks. Inspect tires for proper inflation (underinflation causes uneven tilling; overinflation risks damage). Examine the disc harrow for bent or broken discs, worn bearings, or loose bolts. Address any issues before proceeding. Lubricate all moving parts for smooth operation. Remember, neglecting maintenance increases the likelihood of breakdowns and accidents. Do you want to risk costly repairs or downtime?
2. Personal Protective Equipment (PPE): Safety is paramount. Always wear appropriate PPE, including sturdy work boots, gloves, eye protection (safety glasses or goggles), hearing protection (earplugs or earmuffs), and, if conditions warrant, a dust mask. Isn't your health worth protecting?
3. Soil Moisture Assessment: Assess soil moisture content. Discing dry soil is generally easier and less likely to clog the discs, while wet soil clings and reduces efficiency, potentially damaging the equipment. Aim for slightly moist soil. Overly dry soil can also lead to excessive dust. If in doubt, wait a day or two for improved working conditions.
4. Disking Pattern Planning: Before you start, plan your disking pattern. Consider the field’s size and shape, the direction of previous plowing (if any), and your tractor's turning radius. This planning minimizes overlaps and maximizes efficiency. Disking across or with the furrows (the direction of previous plowing) impacts the resulting surface roughness. We’ll discuss those strategies later.
Discing Your Field: A Step-by-Step Guide
Now, let's get down to discing. The following steps will allow you to perform this task efficiently and correctly.
Hitching Up: Securely attach the disc harrow to your tractor's three-point hitch, following the manufacturer's instructions precisely. Double-check all connections to ensure a safe and stable attachment. A loose hitch can cause uneven disking or accidents. Double-check? Yes, double check!
Setting the Stage: Adjust the depth and angle of the discs. Depth depends on soil type and desired tilling; shallower is usually preferred for seedbeds. A slight angle (20-30 degrees) relative to previous plow furrows often works well, helping even the field. Experiment to find what's best for your conditions. What depth and angle worked best last year on this field? How about previous years?
Taking the Wheel: Begin disking at a moderate speed, gradually increasing as you become more comfortable. Maintain a consistent speed for even tilling. Overlap each pass slightly to prevent gaps and ensure uniform coverage. Are you maintaining consistent speed and overlap?
Across or With the Furrows?: Disking across previous plow furrows (perpendicular) levels the field faster but can create a rougher surface. Disking with the furrows (parallel) is gentler, requiring more passes but resulting in a smoother surface. Choose the approach that best aligns with your field's condition and your planting goals. What are your field conditions? Which method offers the best seedbed?
Maintaining Depth: Consistent depth is paramount for an even seedbed. Monitor the depth gauge and make adjustments as needed. Inconsistent depth hinders germination and crop growth. Are you consistently maintaining the desired tilling depth?
Post-Disking Procedures: Finishing Touches
Once you finish disking, don’t simply walk away! After discing, several tasks enhance the process and contribute to better outcomes.
Field Inspection: Conduct a thorough visual inspection. Are there any areas requiring additional disking? Address any inconsistencies before planting. What areas need further attention?
Disc Harrow Cleaning: Clean the disc harrow thoroughly, removing any clinging soil and debris. Lubricate moving parts, and store it properly to protect it from the elements and extend its lifespan. Isn't investing a little extra time in maintenance important for longer equipment life?
Exploring Alternatives: Beyond Traditional Discing
While discing is common, alternative tillage methods offer advantages.
- Spring-tooth harrowing: Uses spring tines to gently loosen and level soil, suitable for lighter soils and smaller clods.
- Field cultivation: Breaks up clods and prepares a seedbed, ideal for fields already fall-plowed.
- No-till farming: Eliminates mechanical soil disruption; seeds are planted directly into previous year's residue, reducing erosion, improving water retention, and boosting carbon sequestration. Requires specific equipment and careful management.
The best choice depends on your specific field conditions, climate, and crops. What are the advantages and limitations of each alternative for your specific needs?
Troubleshooting: Common Problems and Solutions
Even experienced farmers encounter problems.
| Problem | Possible Cause(s) | Solution |
|---|---|---|
| Clogged Discs | Wet soil, excessive debris | Thoroughly dry soil; clean discs; consider alternative methods |
| Uneven Tillage | Inconsistent depth, speed, or uneven soil conditions | Check settings; maintain consistent speed and depth; address soil inconsistencies |
| Excessive Compaction | Overly heavy discs, wet soil | Reduce depth and speed; adjust soil moisture; consider different equipment |
| Bent or Broken Discs | Impact with rocks or hard objects | Repair or replace damaged discs; careful operation |
Closing Thoughts
Effective discing requires careful planning and execution. Prioritize safety, and remember that practice improves your skills. Exploring alternative methods and ongoing research helps optimize your farming practices for sustainability and efficiency. What did you learn from this experience that will improve your next discing session?